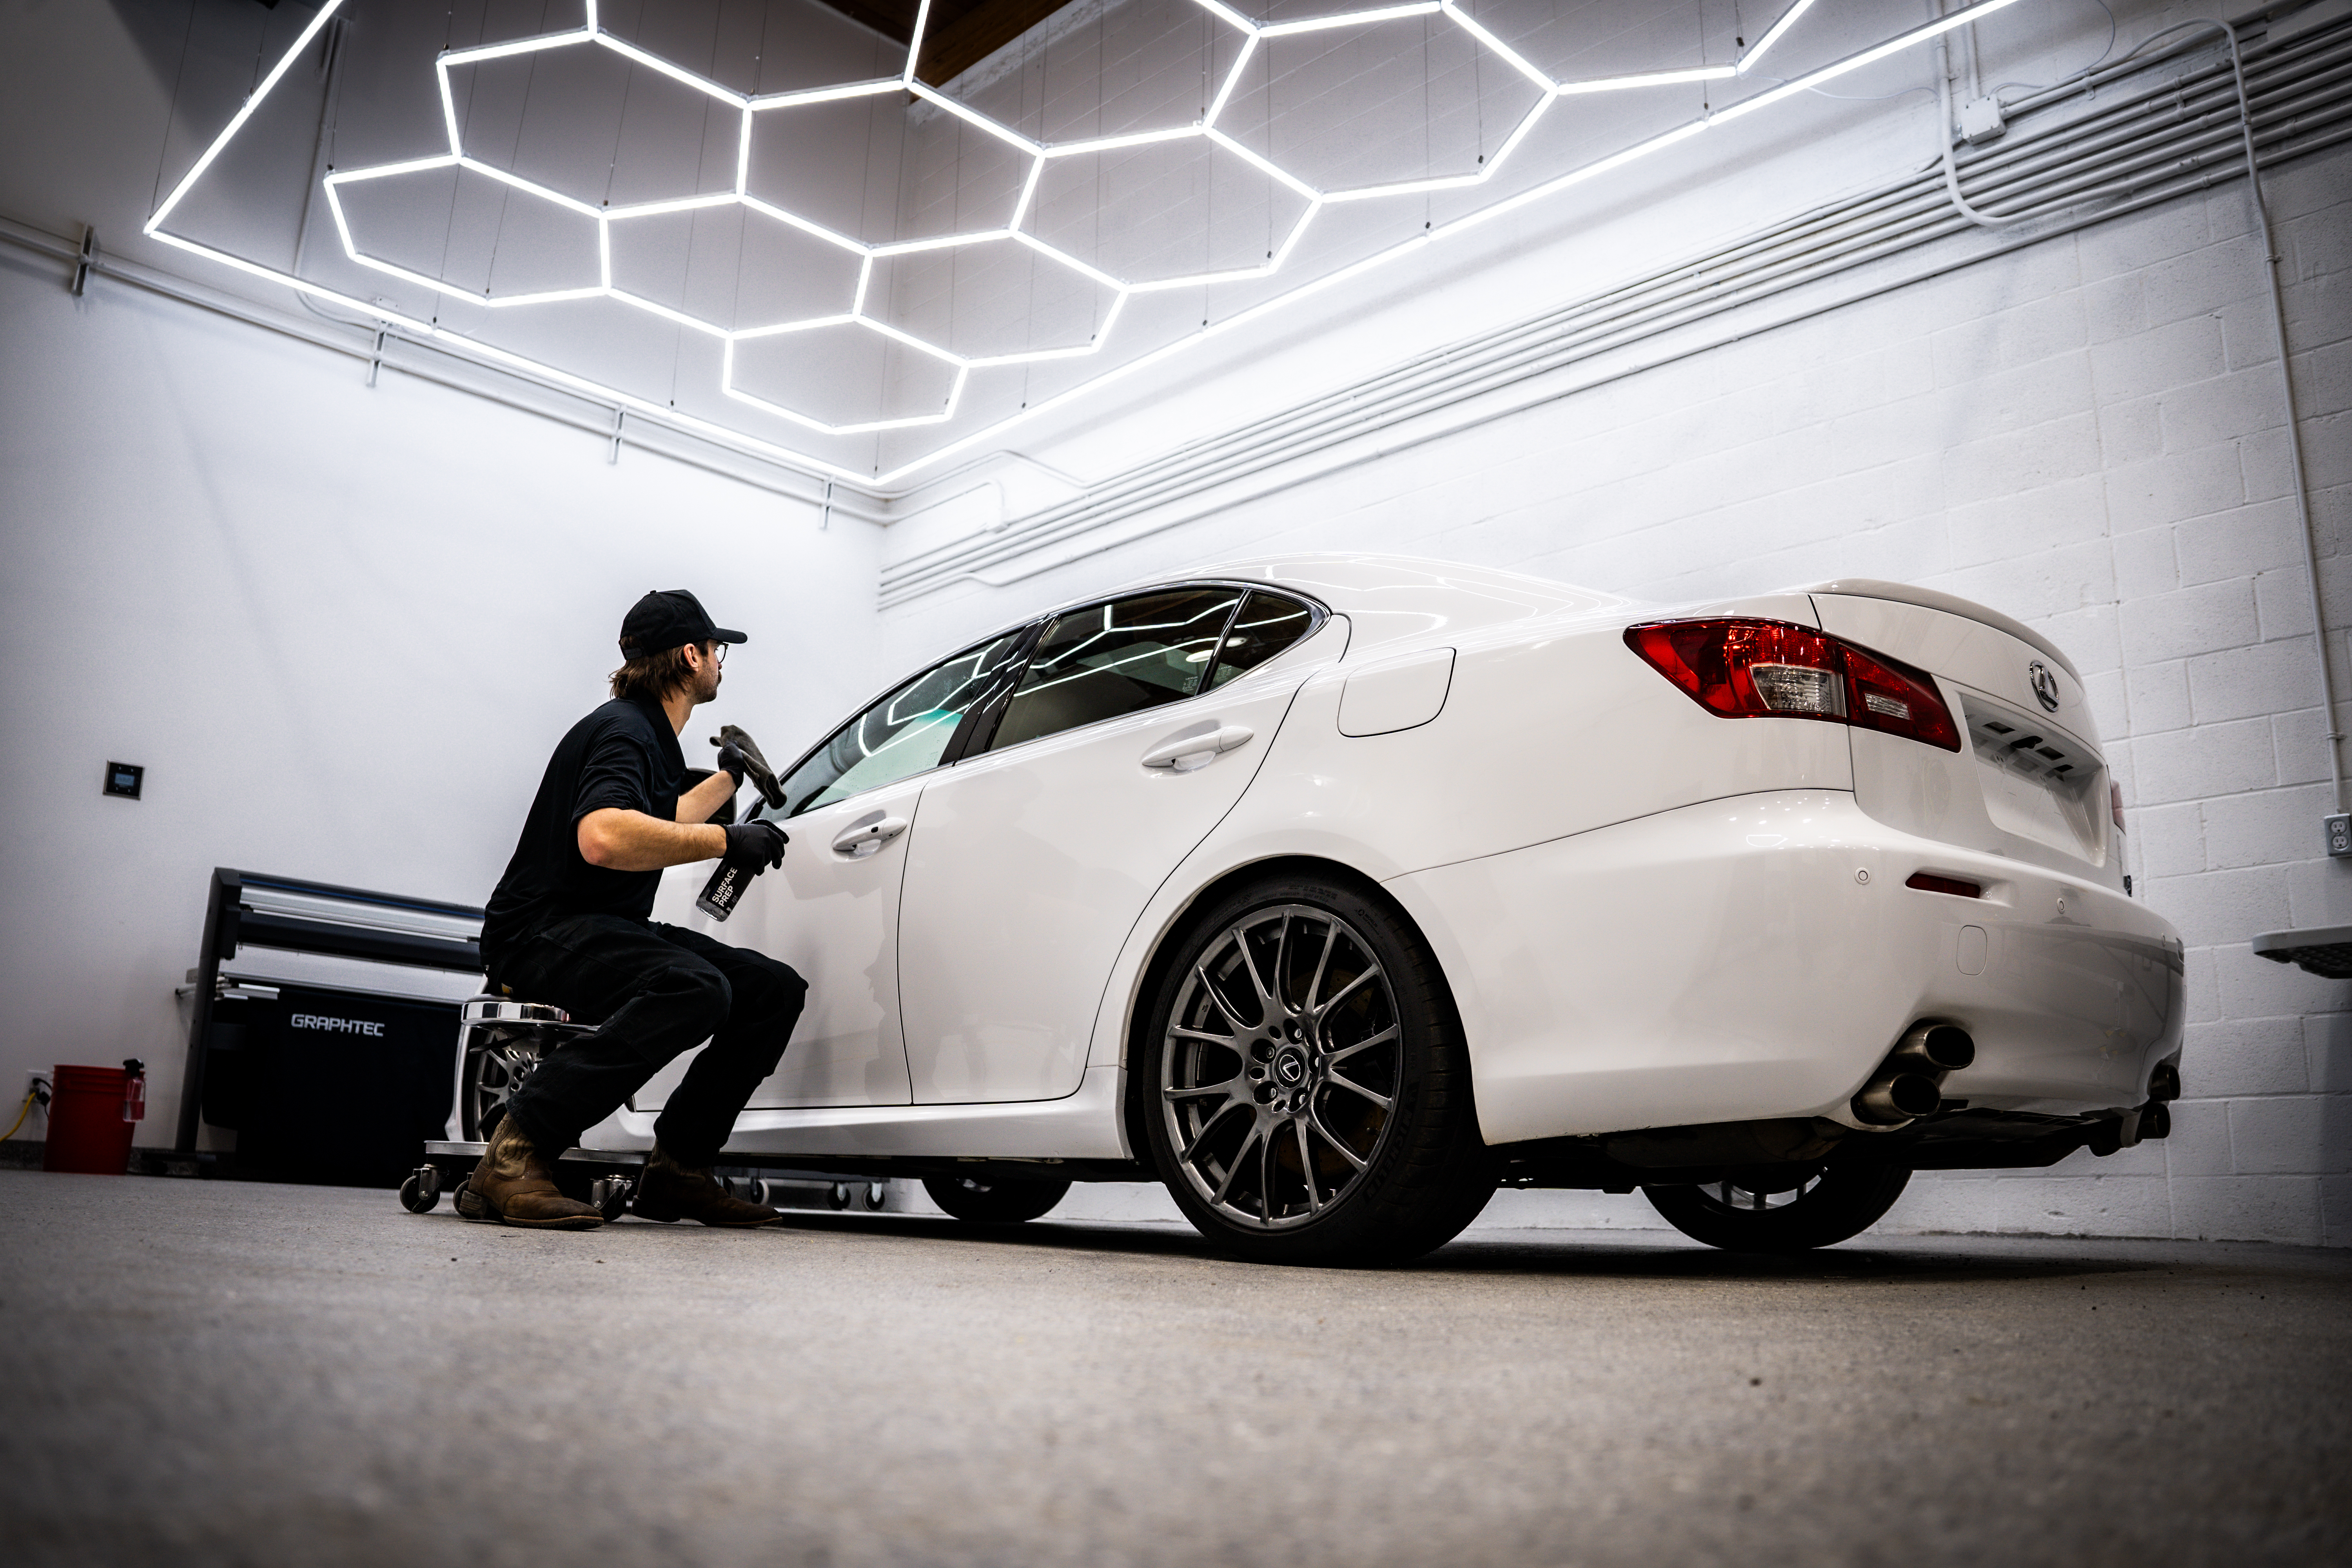
Surface Prep for Success
The Make-or-Break Step: Why Surface Prep Determines Your Coating's Success
You've invested in premium graphene coating products. You've dialed in your application technique. But if you're still dealing with coating failures, premature wear, or inconsistent results, the problem probably isn't your coating—it's what happens before the coating ever touches the paint.
Surface preparation is the single most critical step in any coating application, yet it's often where even experienced detailers cut corners. Let's talk about why proper surface prep is non-negotiable and how to do it right every single time.
Why Surface Prep Makes or Breaks Your Coating
Think of your coating like a high-performance adhesive. It can only bond as well as the surface allows. Any contamination, oils, waxes, or residues sitting on the paint create a barrier between your coating and the clear coat. The result? Poor bonding, reduced durability, and coatings that fail months earlier than they should.
Even freshly polished paint isn't ready for coating. Polishing oils, compound residue, and even fingerprints from handling panels can compromise the bond. This is why dedicated surface prep solutions exist—and why they're not optional.
The Complete Surface Prep Process
Step 1: Decontamination Wash
Start with a thorough two-bucket wash using a high-alkaline soap for heavily soiled vehicles or those with existing wax or sealant. This strips away old protection layers and cuts through road grime, bug residue, and other organic contaminants that pH-neutral soaps might leave behind.
For maintenance details or lightly soiled vehicles, a pH-neutral soap works perfectly and won't strip existing coatings if you're doing a top-up application.
Step 2: Clay Bar Treatment
Even after washing, embedded contaminants remain in the paint. Clay bar or clay mitt treatment removes these bonded particles that washing can't touch. Run your hand over the paint after washing—if it's not glass-smooth, you're not ready for the next step.
Step 3: Paint Correction (If Needed)
Address any scratches, swirls, or oxidation before coating. Remember: coatings don't hide imperfections, they lock them in. If the paint isn't perfect now, it won't magically improve under coating.
Step 4: The Critical Final Wipe
Here's where most coating failures happen. After polishing, you must remove 100% of polishing oils and residue. This is where a dedicated surface prep solution becomes essential.
Apply your surface prep spray panel by panel. Use a clean, lint-free microfiber cloth—preferably a fresh one for each vehicle. Wipe in one direction, then flip to a clean section of the towel and wipe again. You're looking for a perfectly clean, streak-free surface with no oily residue.
Don't skip this step or substitute it with isopropyl alcohol dilutions. Professional surface prep solutions are formulated specifically to remove polishing oils while leaving the paint ready for maximum coating adhesion.
Step 5: The Touch Test
Before opening your coating bottle, do the touch test. Put on a clean nitrile glove and lightly run your fingers across the prepared surface. It should feel squeaky clean—almost like it's grabbing at your glove slightly. If you feel any slickness or residue, wipe down again with surface prep.
Common Surface Prep Mistakes
Using Old or Dirty Towels: That microfiber you used on three other cars? It's contaminated. Use fresh towels for surface prep, always.
Rushing Between Steps: Let each cleaning step fully dry before moving to the next. Trapped moisture under coating causes adhesion problems.
Inconsistent Coverage: Missing spots during surface prep creates weak points in your coating. Work systematically, panel by panel, and overlap your passes.
Skipping the Prep Spray: Some detailers try to save money by skipping dedicated surface prep or using generic products. This is penny-wise and pound-foolish. A $20 bottle of proper surface prep protects a $100+ coating application.
Not Checking Your Work: Always inspect under good lighting. Use a flashlight or LED work light to reveal any remaining residue or contamination you might have missed.
The Professional Difference
What separates professional detailers from DIY enthusiasts isn't just skill—it's consistency and attention to detail. Your surface prep process should be so dialed in that you could do it blindfolded. Create a checklist, follow it religiously, and never skip steps even when you're running behind schedule.
Your coating is only as good as the surface beneath it. When you invest the time in proper surface preparation, you're not just ensuring the coating bonds correctly—you're protecting your reputation, reducing comebacks, and giving your customers the longevity they're paying for.
Setting Yourself Up for Success
Stock quality surface prep products in both sizes. The 473ml bottles are perfect for single-vehicle details, while the gallon size makes sense for high-volume shops. Calculate your cost per vehicle and factor it into your pricing—proper surface prep is a value-add, not a corner to cut.
When customers ask why your coating services cost more than the competition, surface prep is part of your answer. Explain that you don't just slap coating on top of dirty paint—you invest the time to do it right, which is why your coatings last longer and perform better.
Remember: coating application takes minutes. Surface prep takes hours. That's where the real work happens, and that's what your customers are really paying for.
The difference between a coating that lasts six months and one that lasts six years often comes down to what happened in the 30 minutes before application. Make those 30 minutes count.
